
The dream: walking robot dog.
The reality: crawling robot dog.
The lesson: building robot is freaking hard.
The Backstory
During my Software Engineering degree, I’ve had an Arduino class to put in practice our electronic classes. It covered the basics, allowing us to build small circuits and tiny projects.
Our teacher Pascal Masson (one of the best I’ve had in 5 years) had the brilliant idea of giving us no constraints for the final project.
Imagination (and budget) is the limit.
With my teammate Hugo Durand, we decided to dream big:
What if we built a robot dog from scratch?
This started an 8 months frenzy of iterations, failures, successes, melted wires, exploded capacitors and fried motors.
As I am writing this article in May 2025 and built the robot dog early 2022, the goal of this article is not to explain the how-to, but rather showcase the big steps. For more precise details, Hugo wrote a great blog on Instructables.
This article was also published on Medium.
The Journey
Legs
It all started with sketches drawn in margins during less than exciting maths classes.
Those evolved into a one of a kind magnificent model made out of cardboard around servo motors. (which does not correspond exactly to the above drawings)
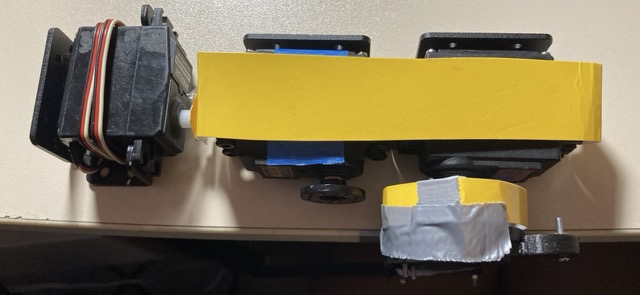
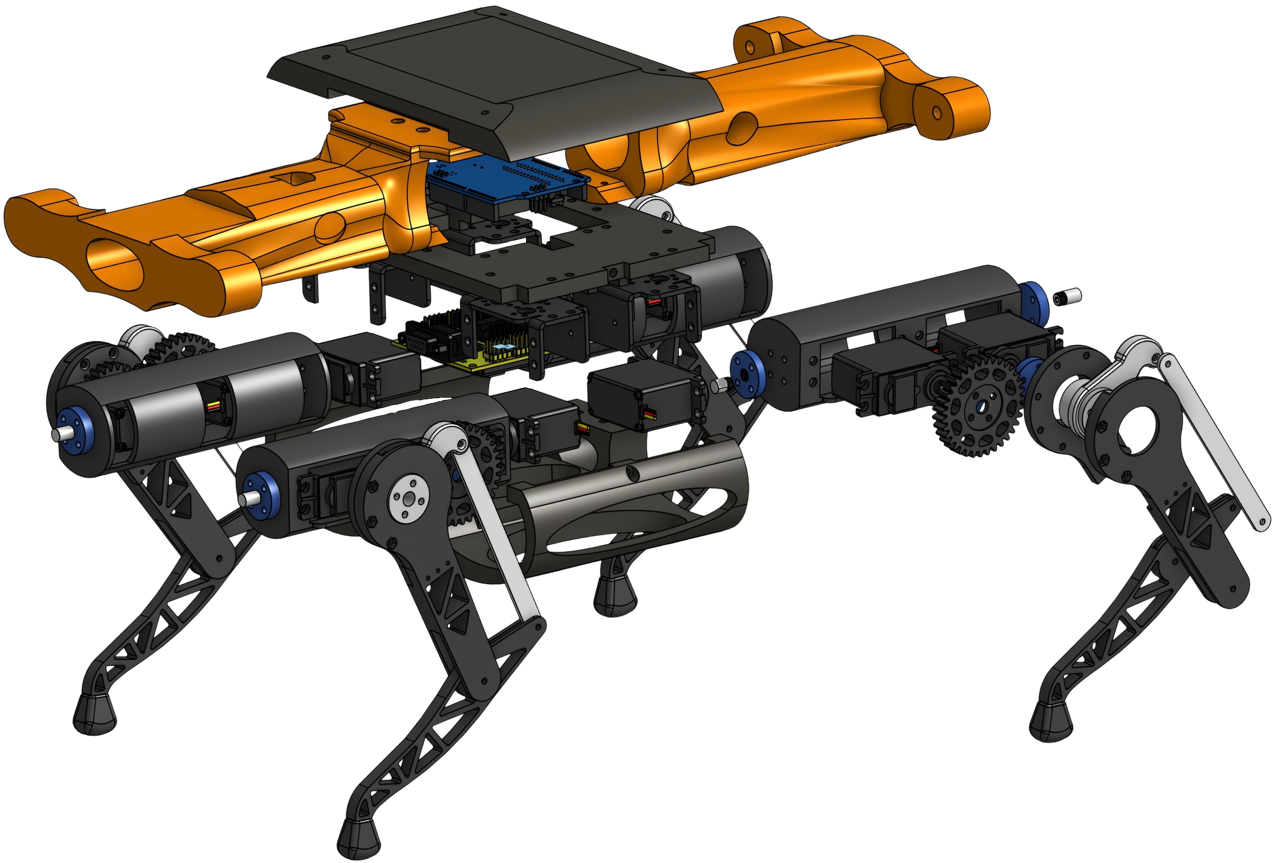
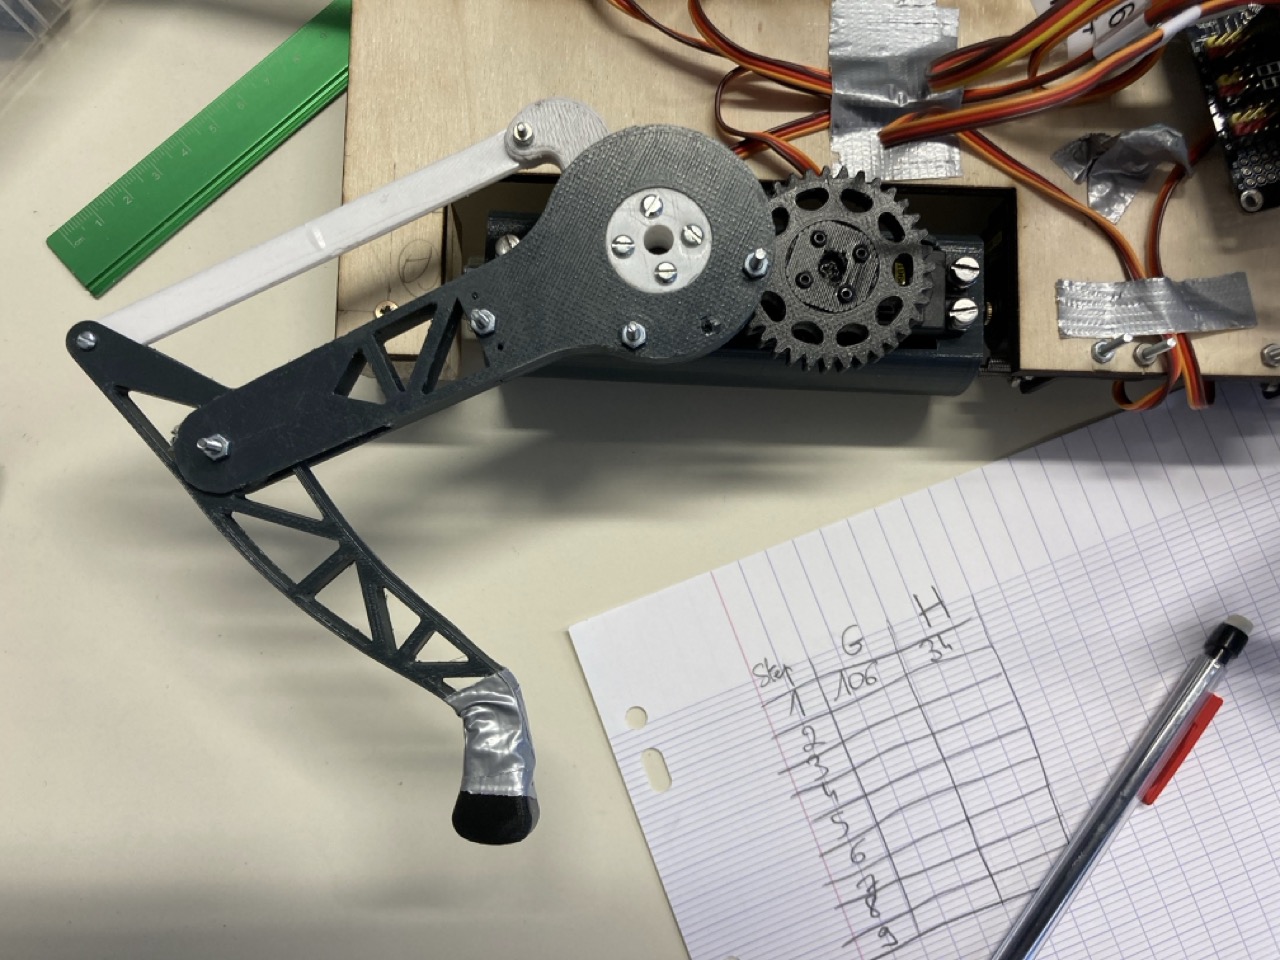
With a bit of 3D modeling and printing, we were able to get our first ever leg!
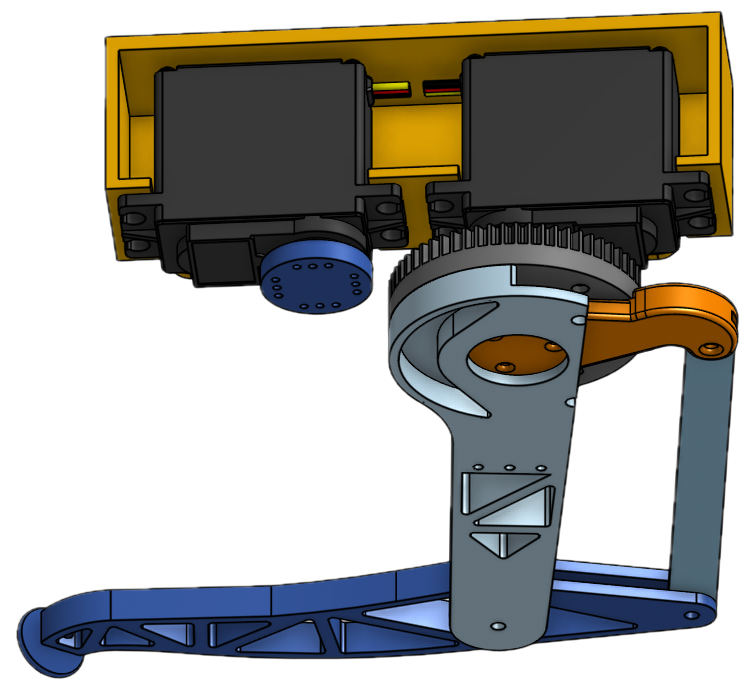
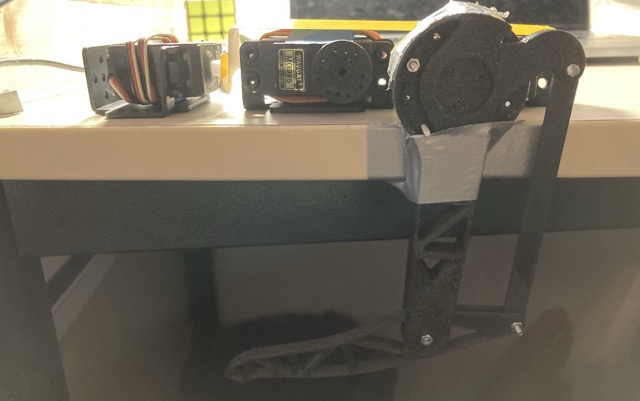
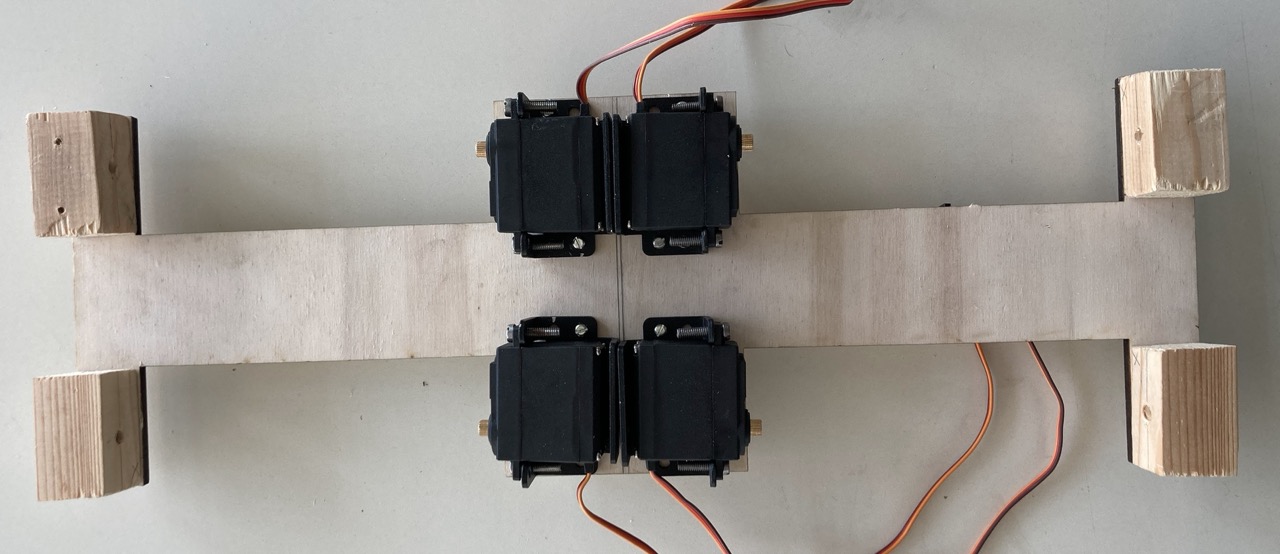
Now that our 3D model was in the real-world, we could start playing around with motors using potentiometers and our trustworthy Arduino.
Time to automate. We are far from the walking cycle of a dog, but hey, it’s starting to look promising!
Spoiler alert: we never got to implementing an adaptative walking algorithm and ended-up hardcoding manual movements.
PolyDog v0
It is named PolyDog because we were students at Polytech Nice Sophia.
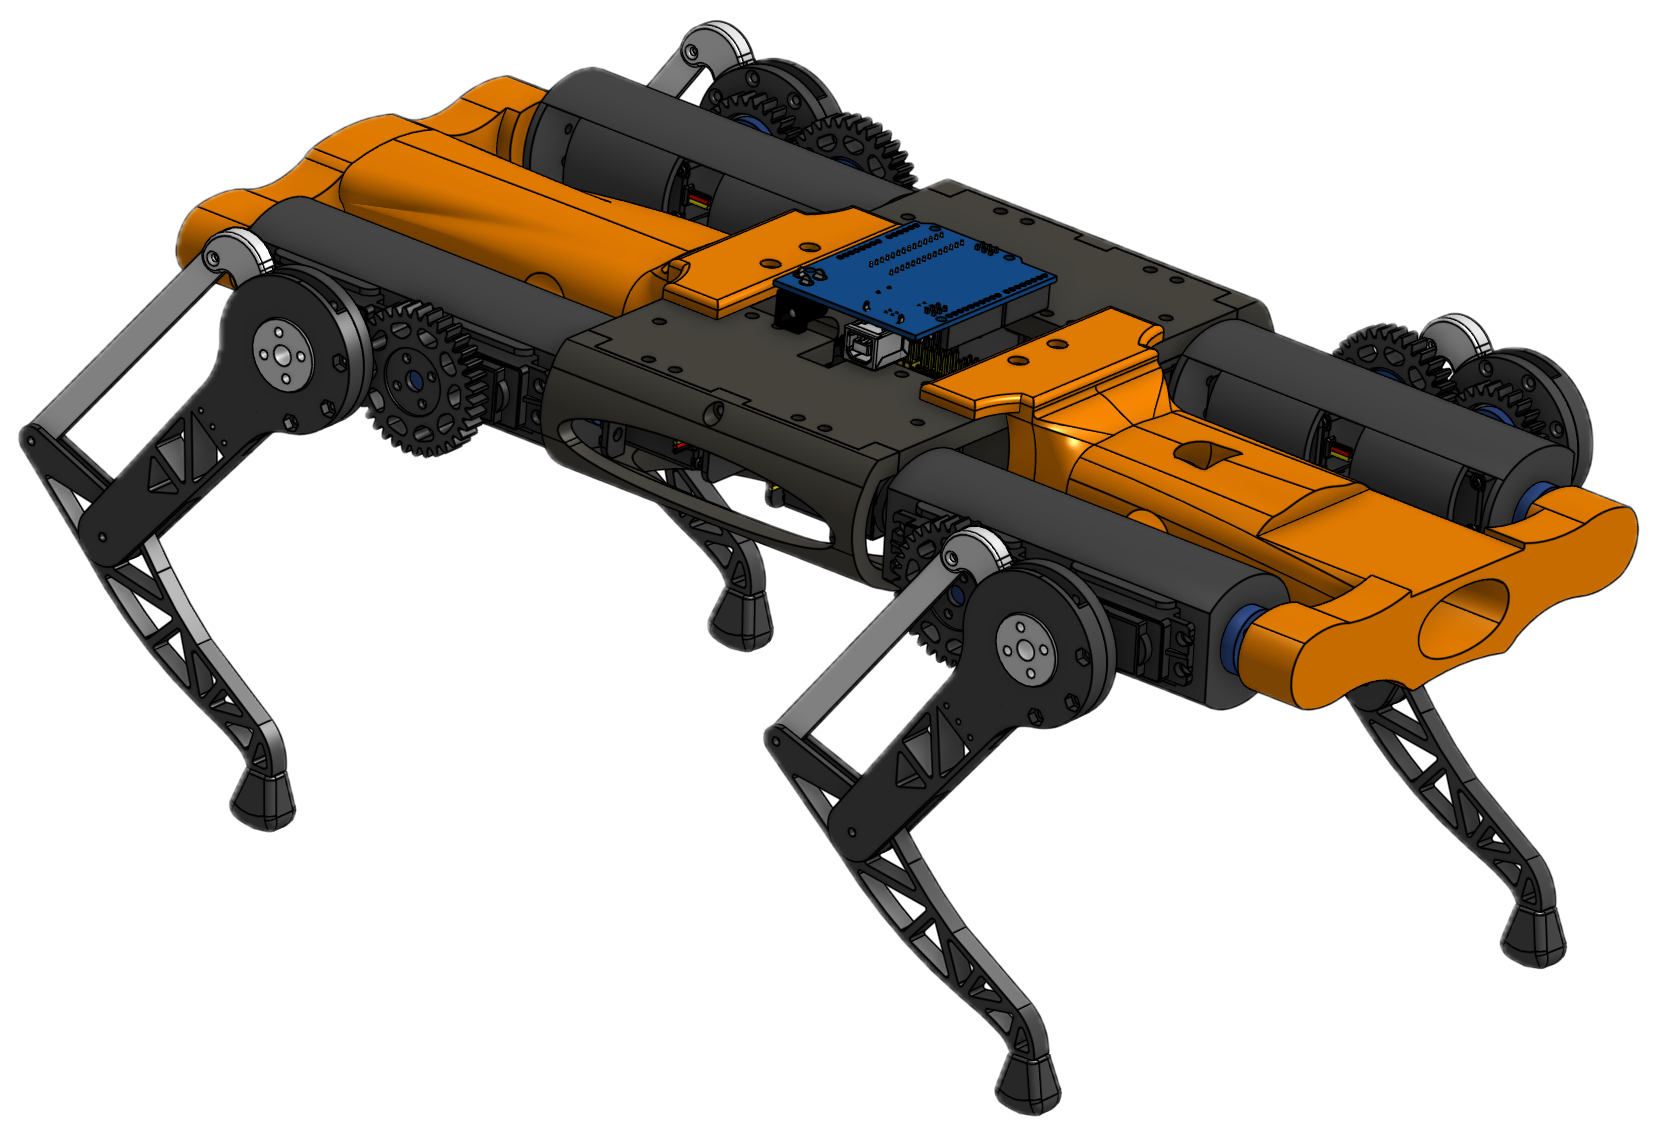
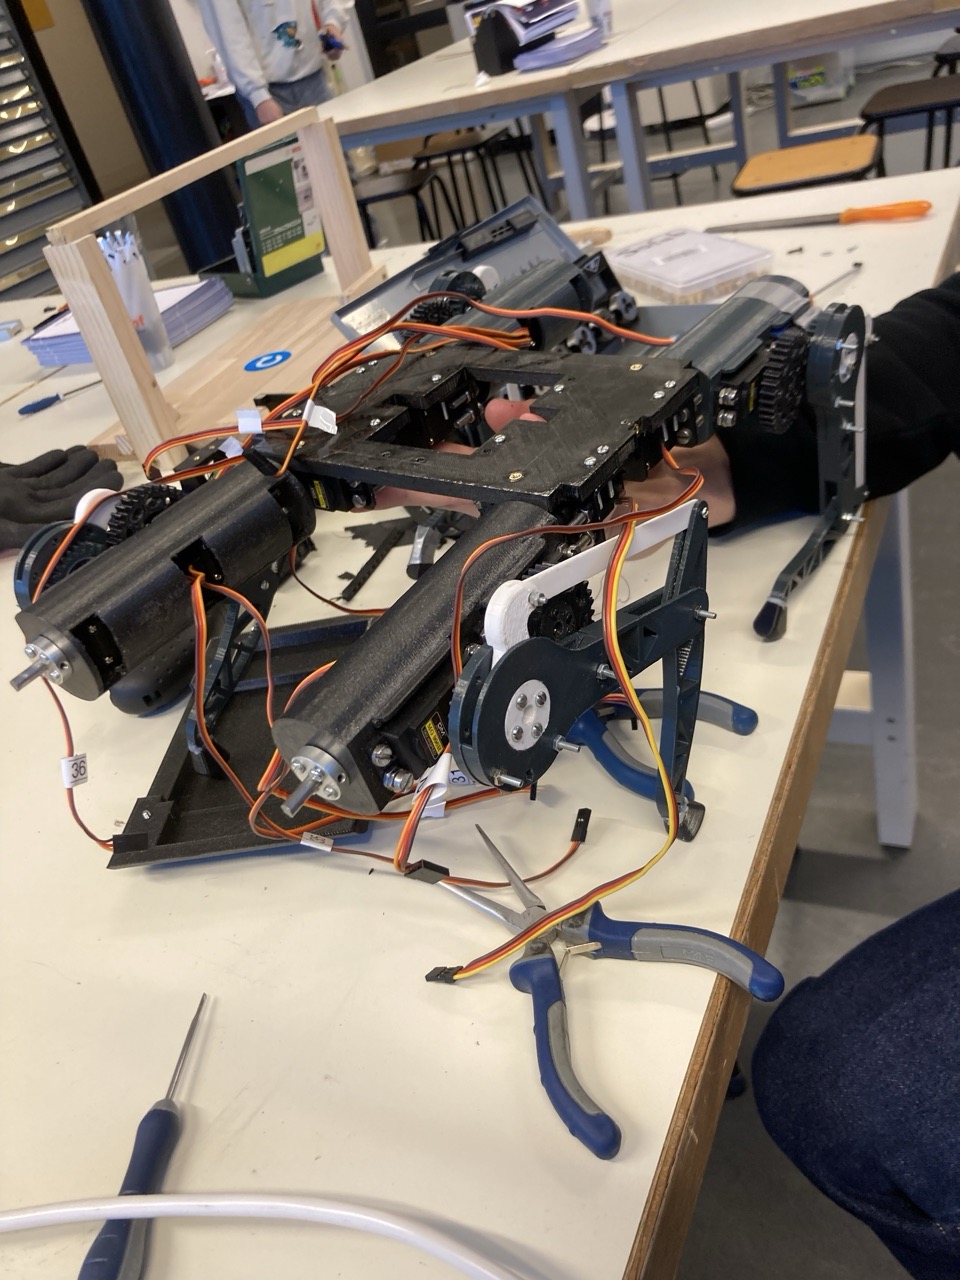
We had 3D-modeled a pretty neat body, but decided to start with plywood as it would allow for faster and less expensive iterations whilst also being lighter.
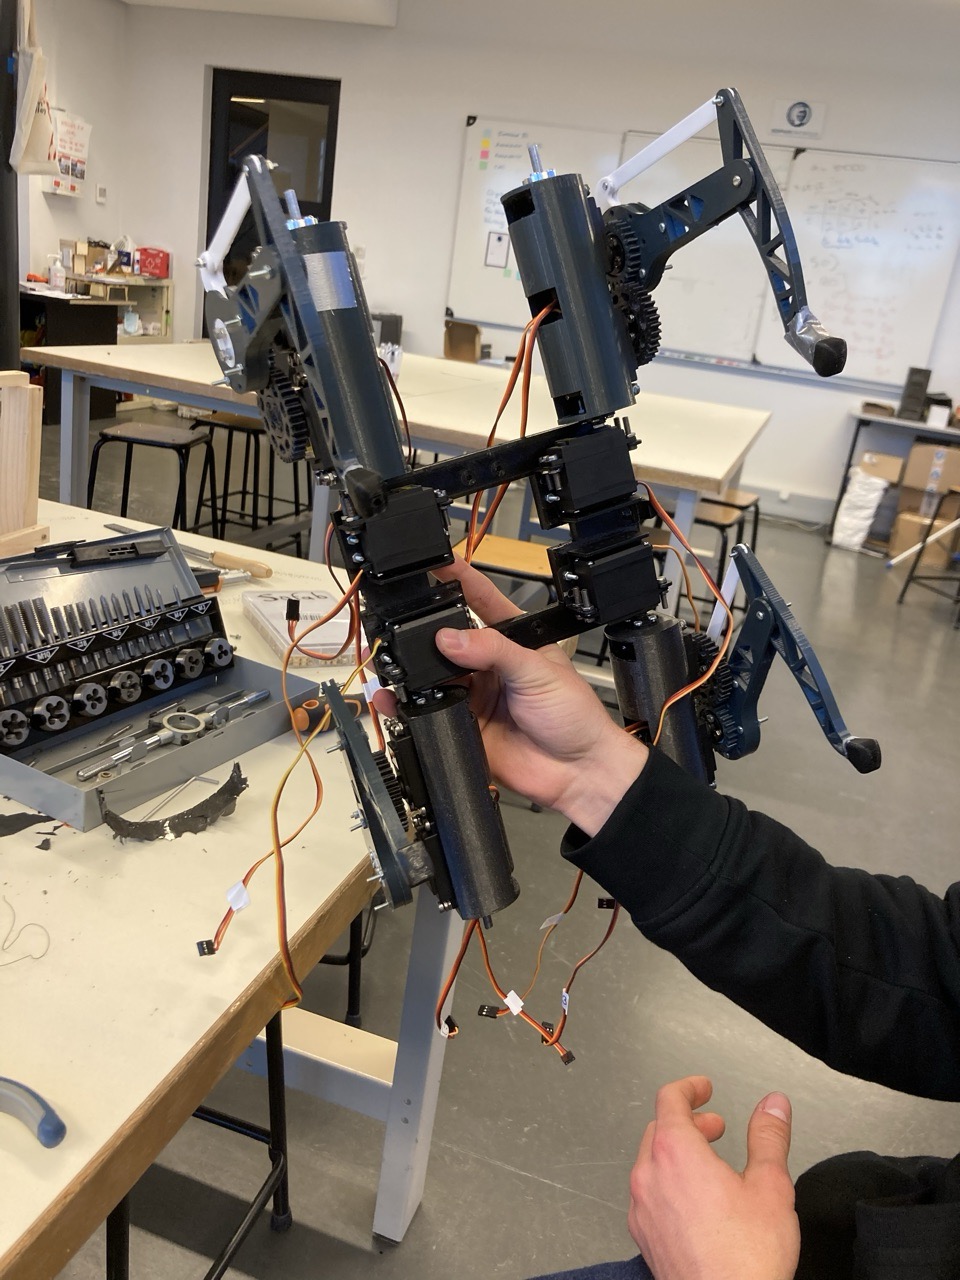
Then 3D printed the 4 legs and tadaaa!
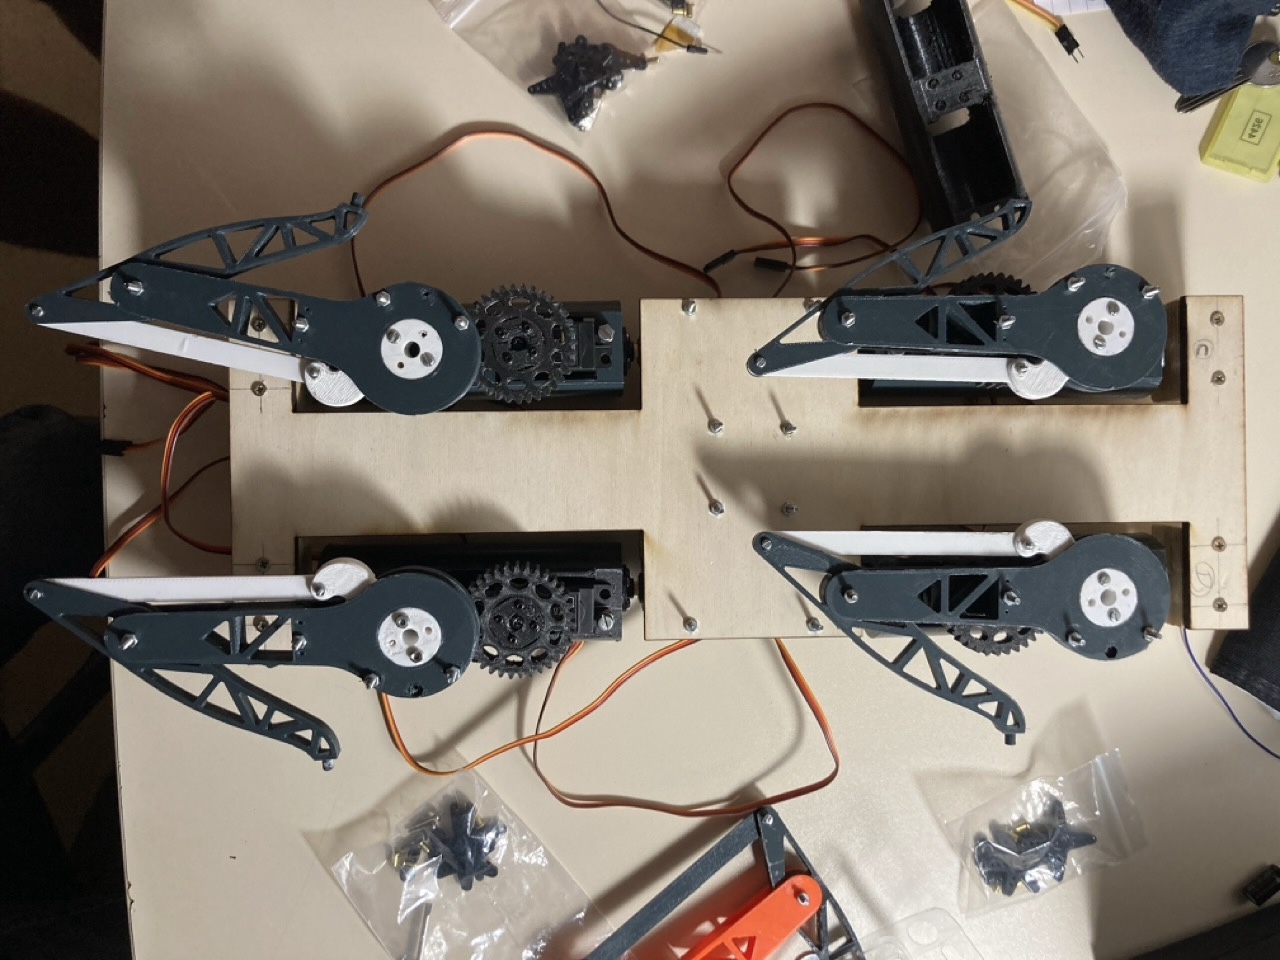
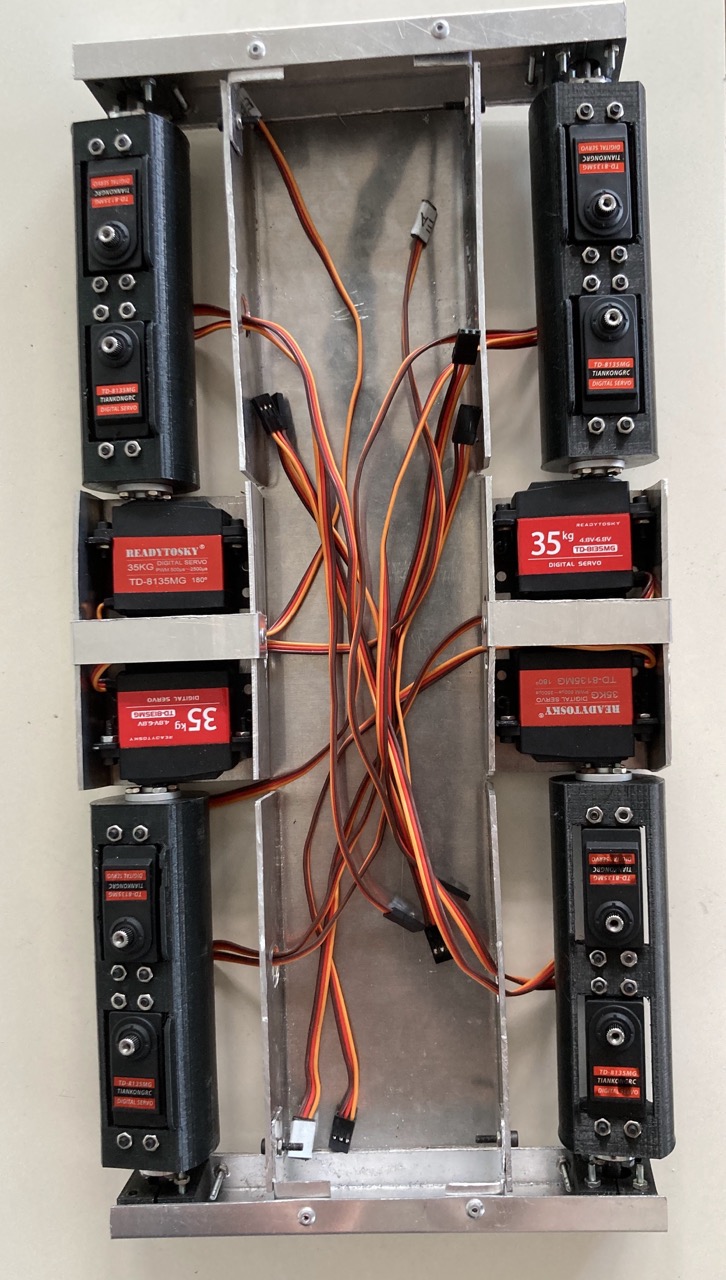
The whole circuit was not very complex in itself as it was just the same motor wiring repeated 12 times.
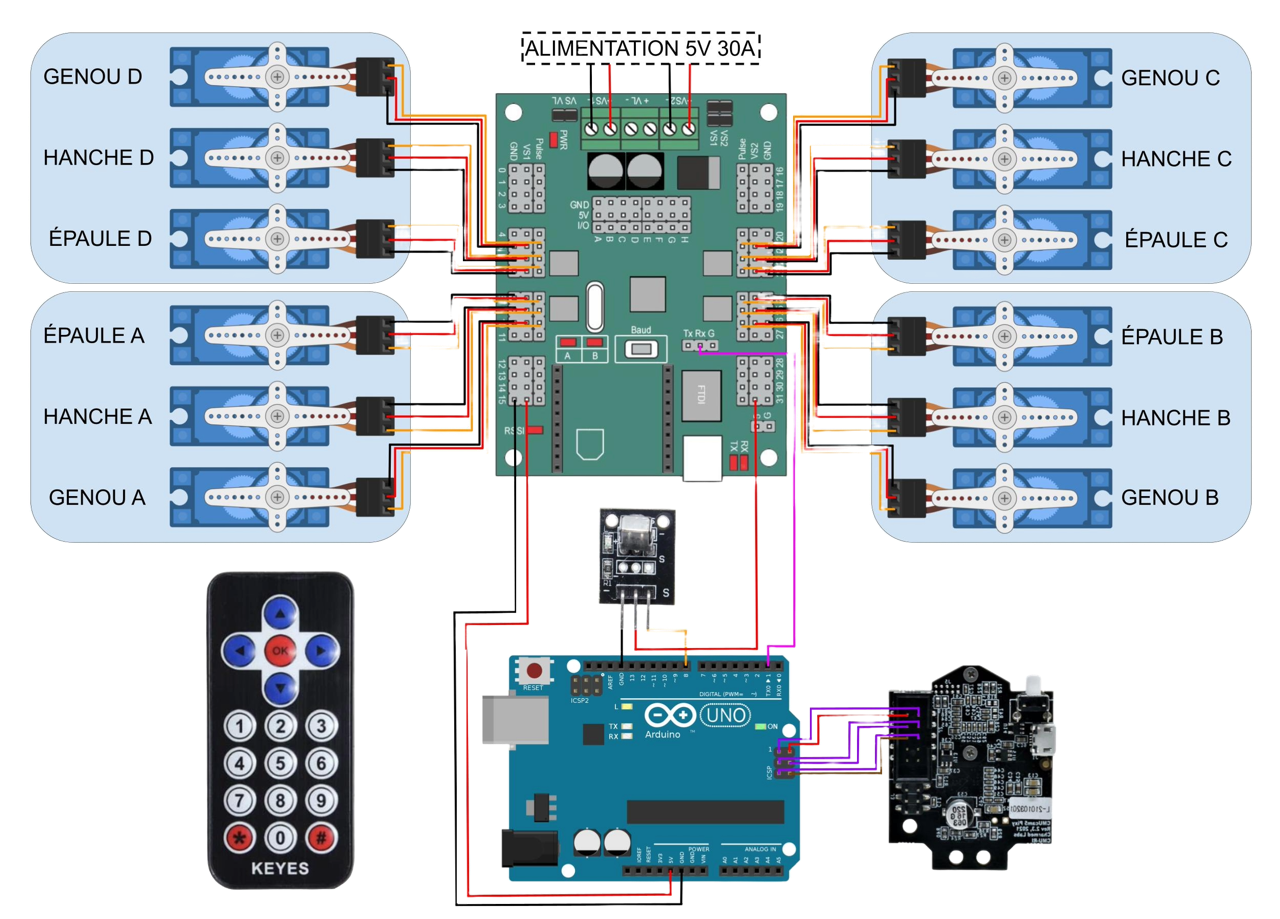
However, it got out of hand very quickly.
Give a thunderous round of applause fooor: spaghetti on three stacked PCB robot!
Ok. We have a robot. Now what?
How on earth do we make something walk?
We started by observing nature and how dogs walk.
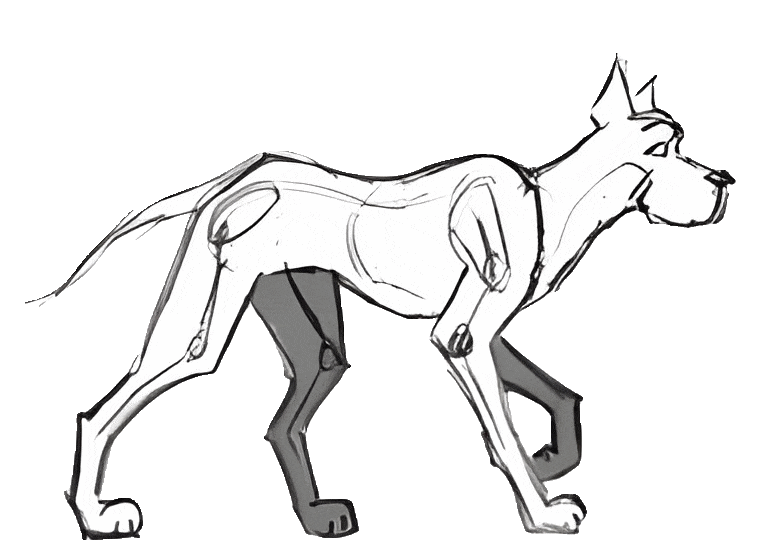
Which could transpose to something like this in our robot:
And then we bruteforced our way through it by measuring the angles of our motors for the leg to be at the right position and interpolating between those angles.
When coded, it looks like this:
We’ve had a lot of setbacks and failures before reaching a stable point, here are a few them:
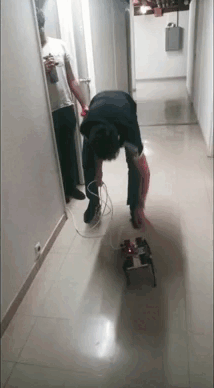
But, through trial and error, we finally got it to walk!
Yes, the video looks like it has been filmed 20 years ago, but sadly I couldn’t find the original footage.
Yes, the leash is its alimentation cord.
I never thought I’d say: “Hey, I’m going for a walk with my robot dog!”
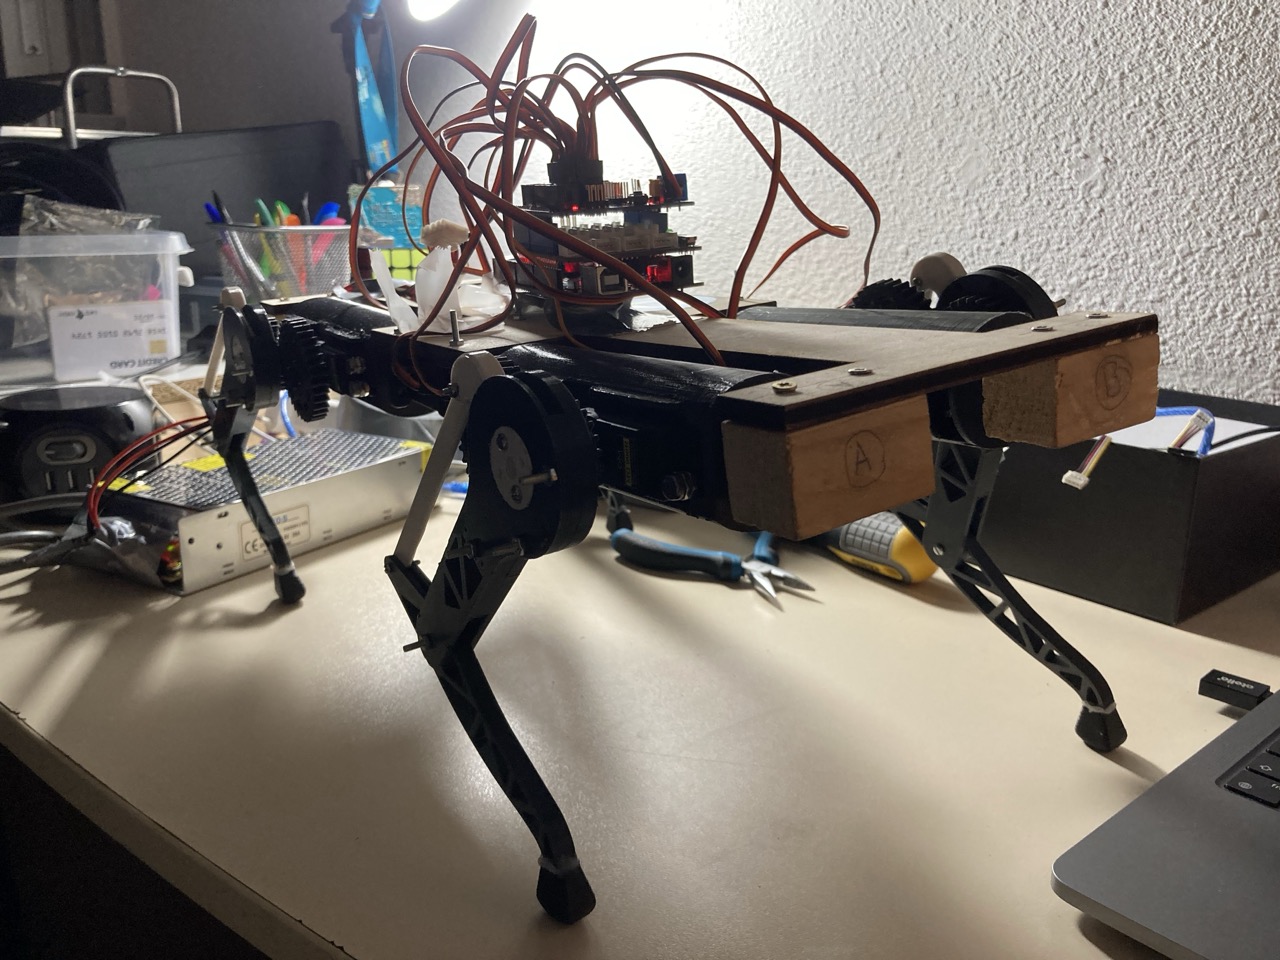
We continued to improve it bit by bit, which did not improve the spaghetti cable situation…
PolyDog v2
After a few iterations, countless night debugging code or electronic issues and banging our heads against the wall a bit too much, we decided that it was time to create the new body!
What we had not anticipated is that the 3D modeled version would be MUCH heavier than excepted.
It gave us another set of new problems…
But it looks cooooool!
So after a lot of 3D printing, we were able to start assembling.
As the result of the additional weight, our dynamic and full of energy robot became a grandpa kind of dog.
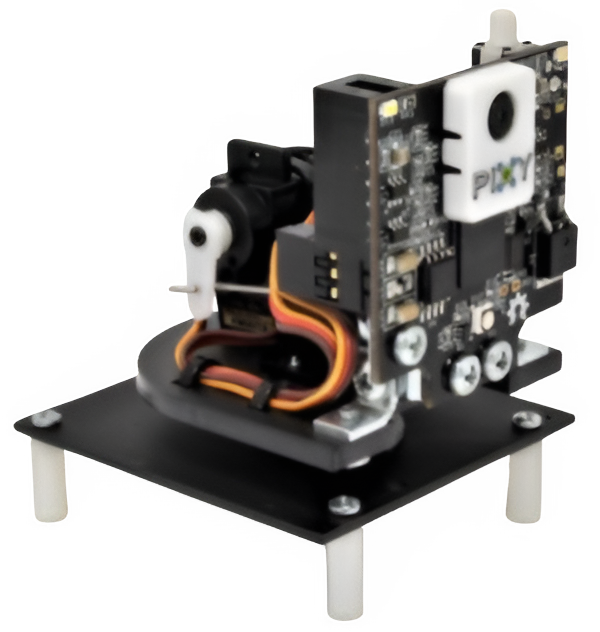
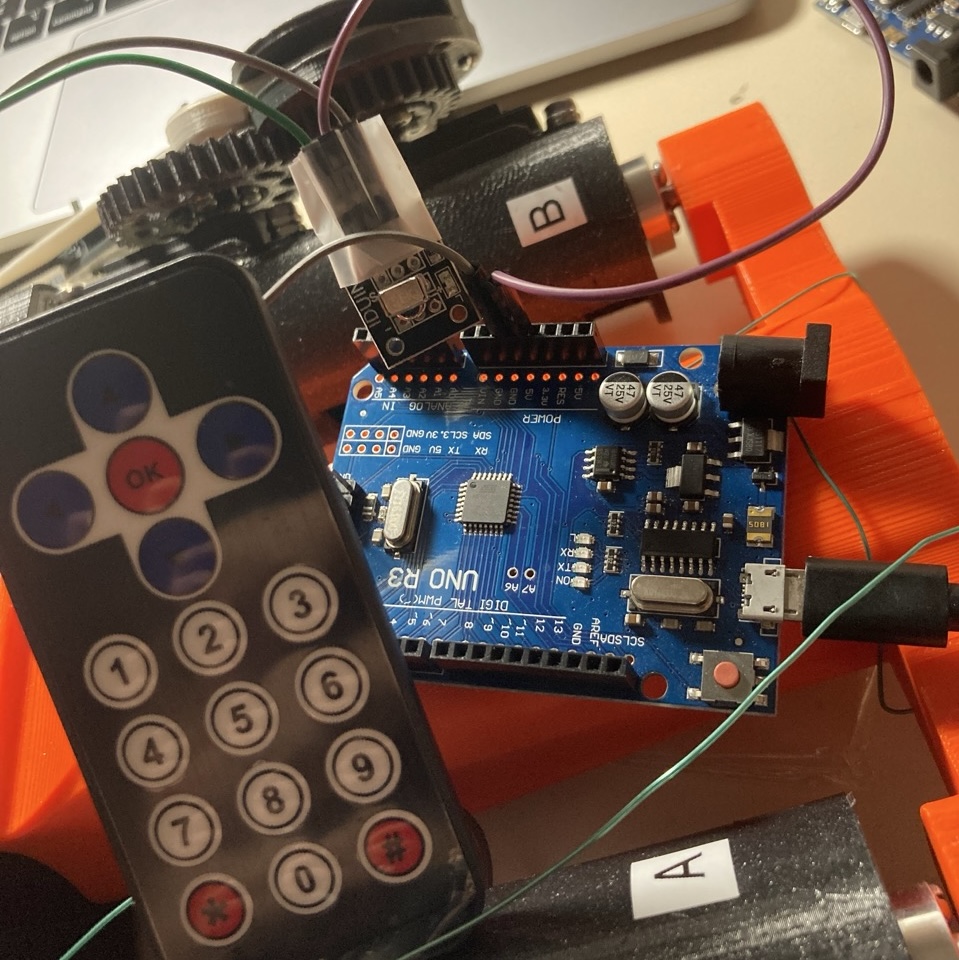
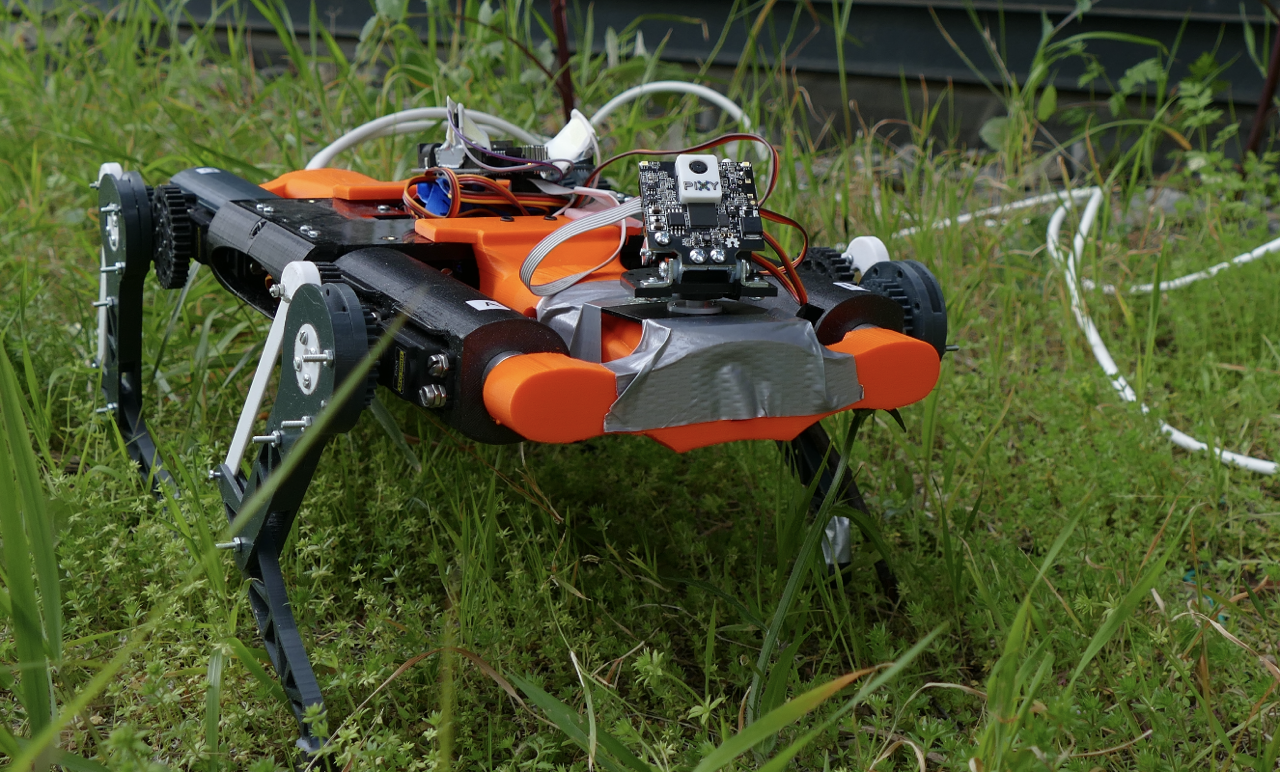
For the fun of it, we added a camera and a remote control to the robot.
The remote control allowed us to change the robot mode like: walking, standing, wiggling, etc.
And for the camera, it was used to experiment with computer vision. The robot was able to detect when a blue object was in front of it and follow it.
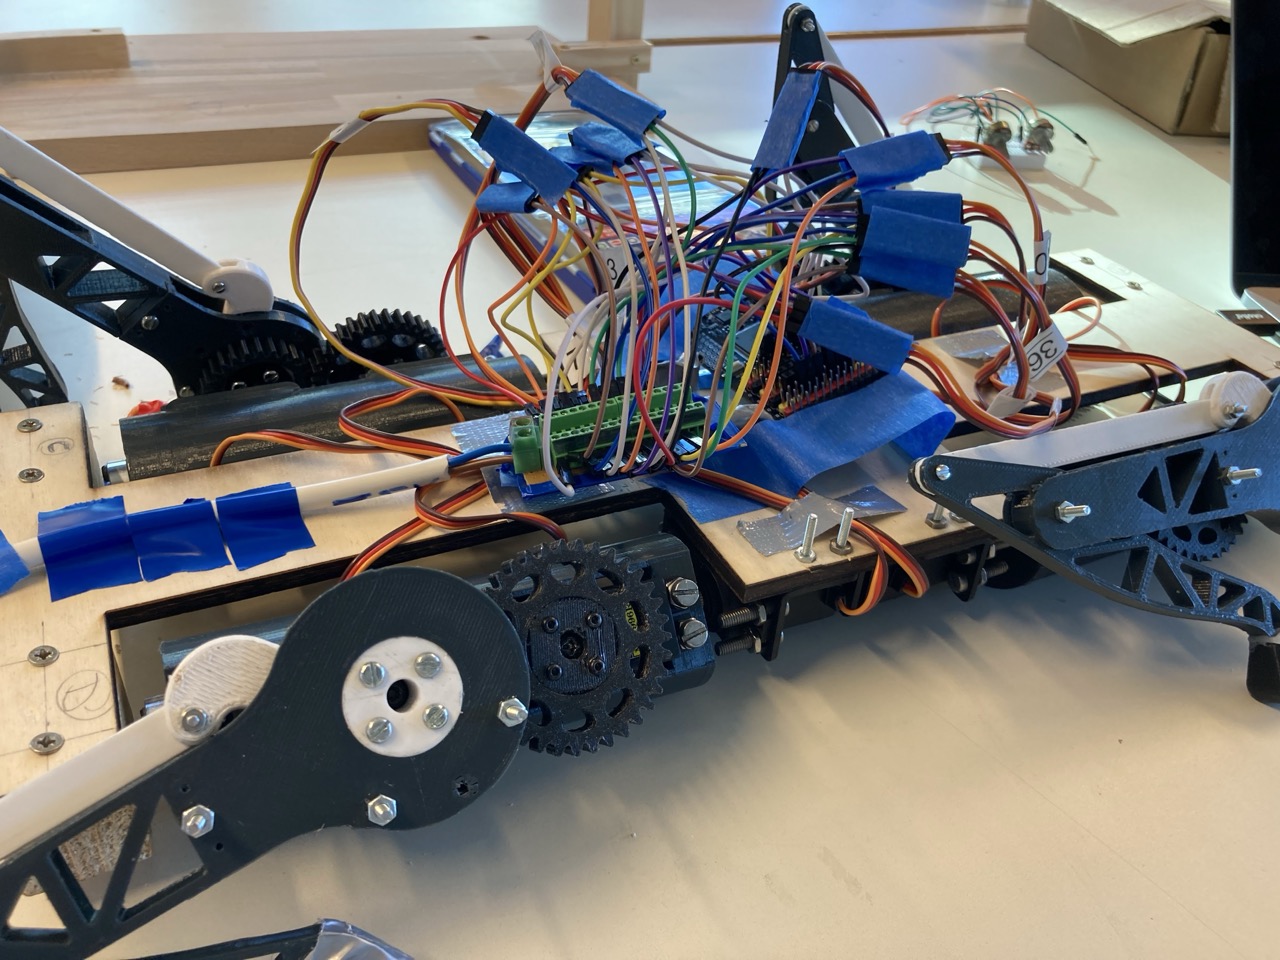
Sadly, I do not have many more images or videos from now on. No clue on why.
At least, I have an artefact of the most advanced, Tony Stark like, workshop robot building setup ever seen!
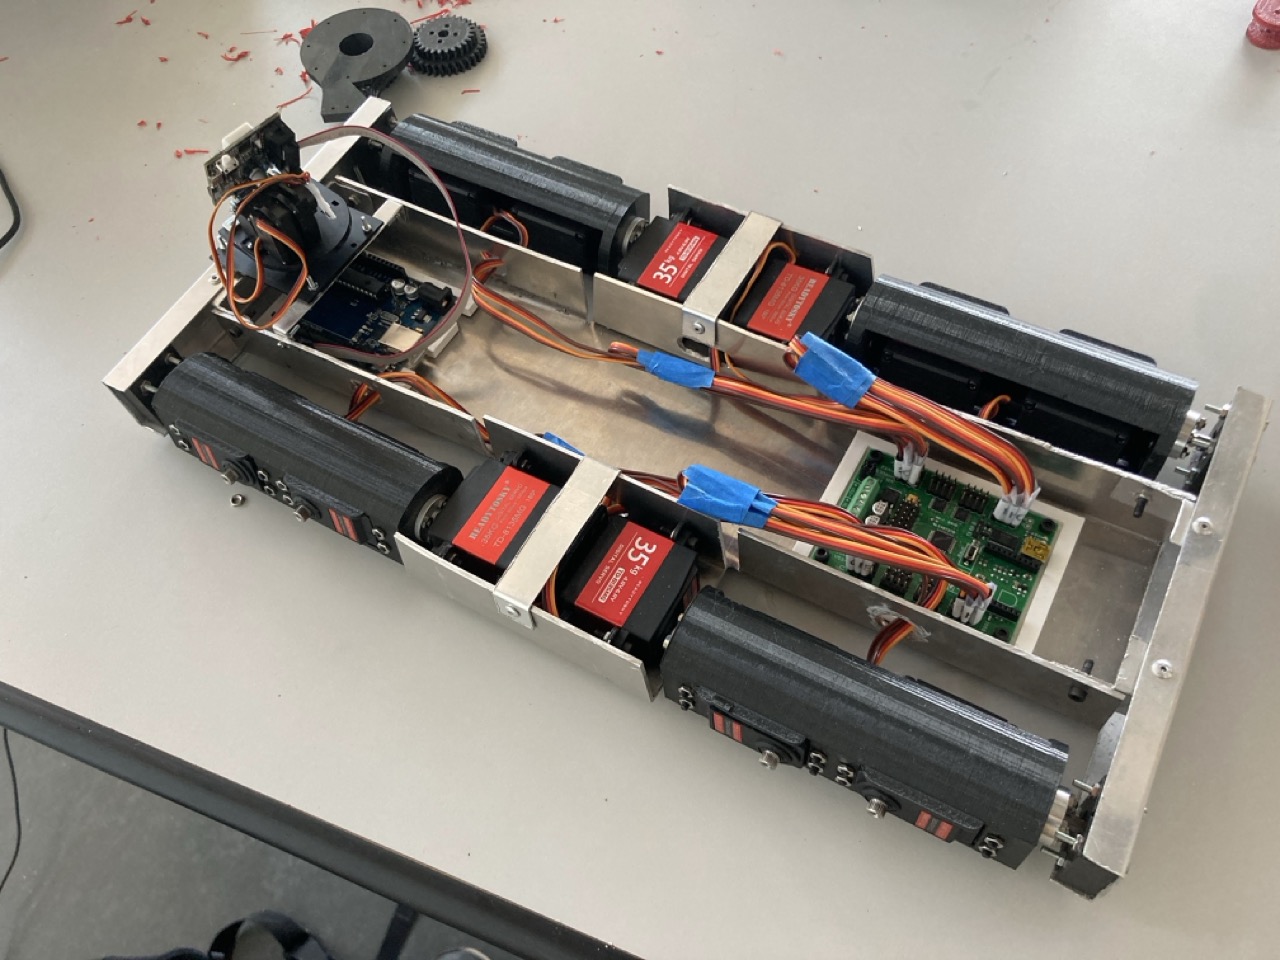
PolyDog v3
After trying to improve on the robot, we realized that the weight was too much for the motors to handle.
A new body was needed.
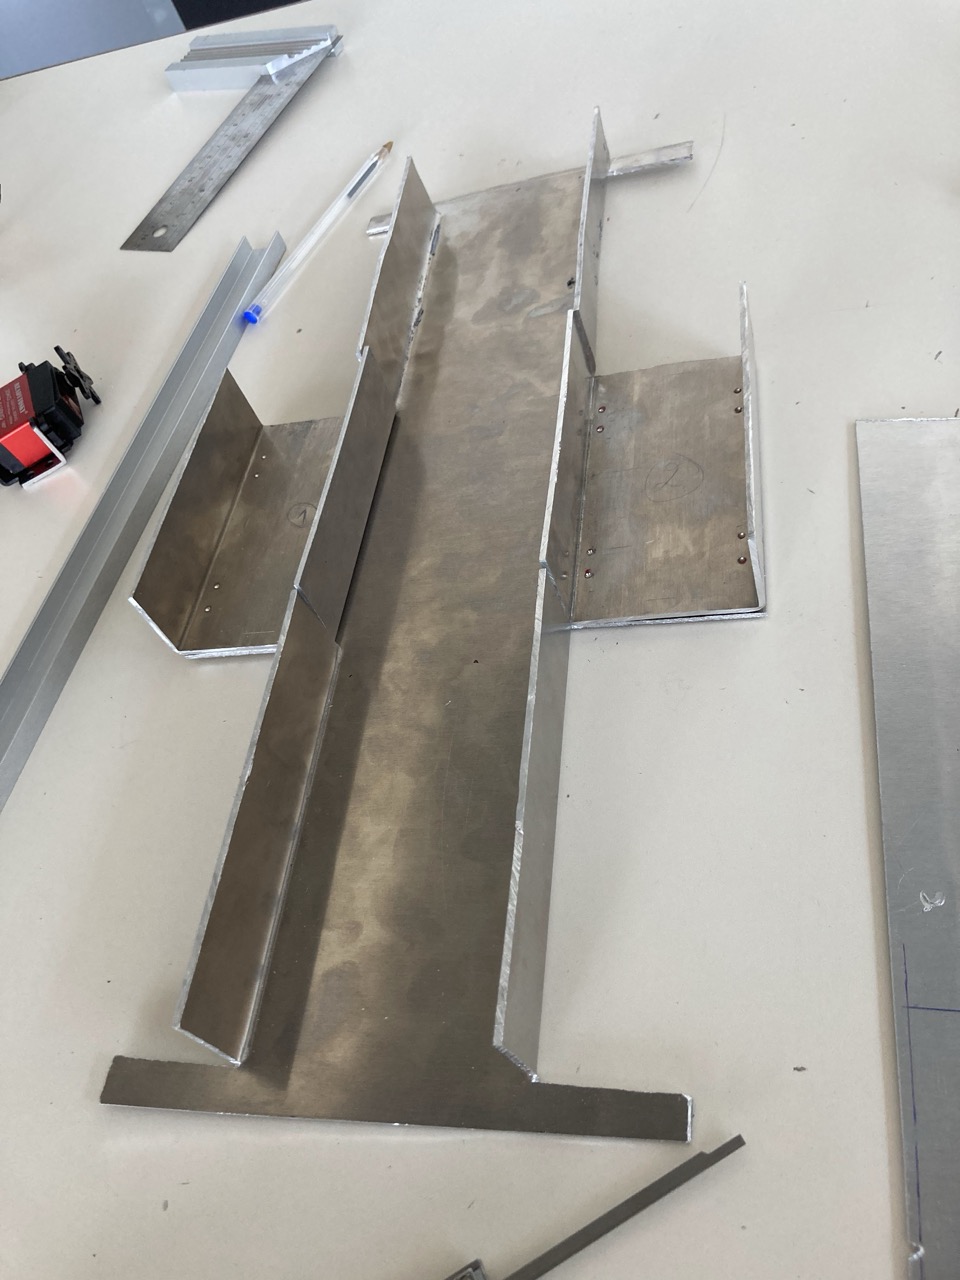
Across all the materials in the workshop, we stumbled upon some aluminium thin plates and decided to give it a try. The goal being of course to have a lighter robot (foreshadowing…).
Back to the drawing board for a new design!
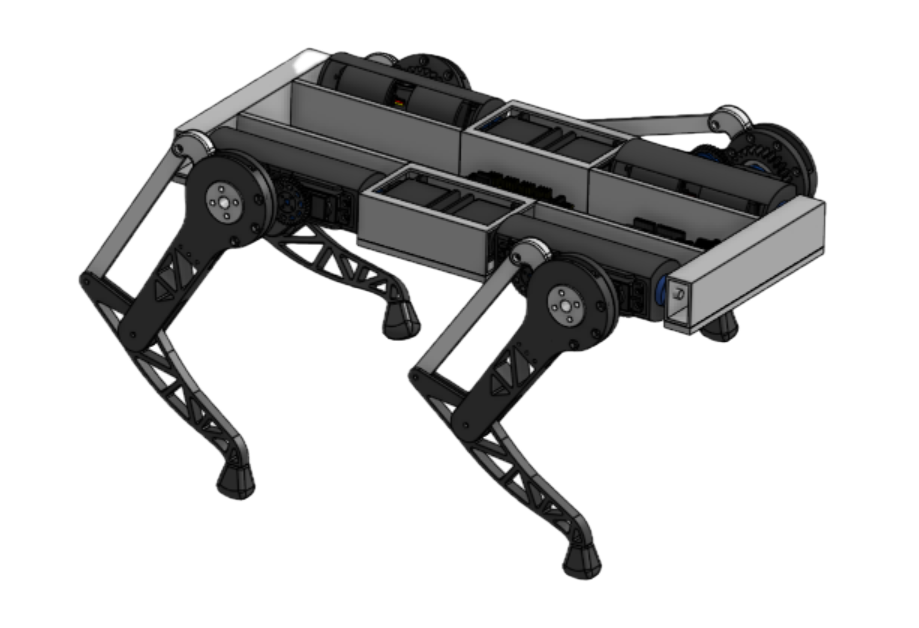
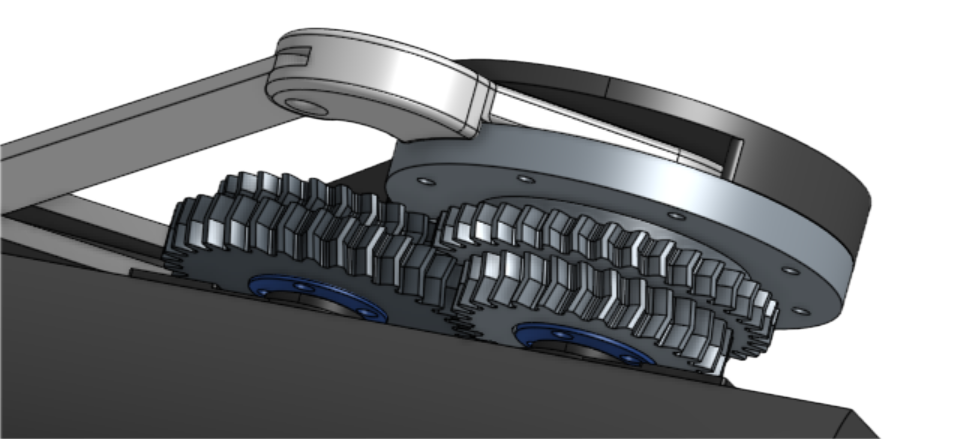
We also redesigned our gears as they were slipping all the time which sheared them very quickly. Apart from looking stunning, double helicoidal gears are much more stable and do not slip as easily.
Time to learn new skills: cutting aluminium sheets, folding them correctly, riveting them together.
Here is a side by side comparison of both beasts:
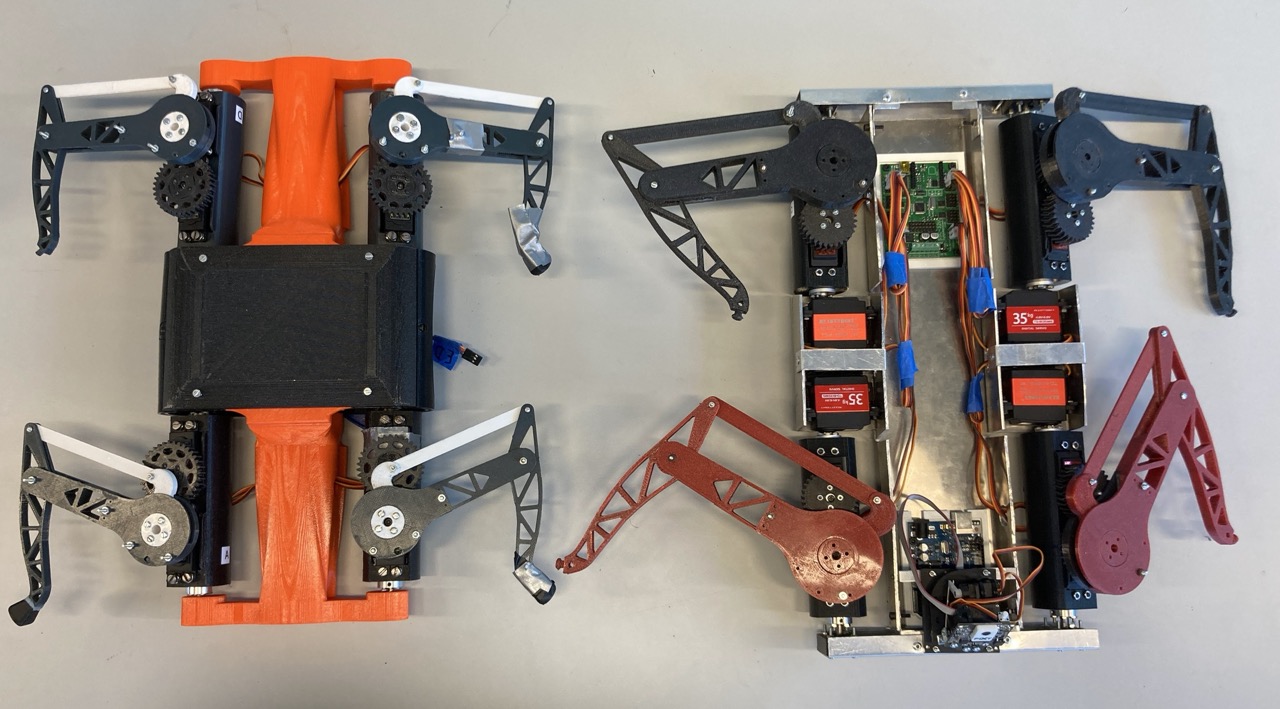
Obvious changes:
- Bigger legs (for more leverage)
- Bigger motors (for more power)
- Better cable management!!! (for our already gone sanity)
What about the weight?
Welp… v3 ended up being just shy of the weight of v2…
But hey, we are getting closer to an IronDog!
This time again, no clue why I have no videos of this version walking even though it was more stable and faster than v2. We will have to stay with this image of it sitting proudly on its beloved stand.

Special thanks
First and foremost, to the Chatterton scotch for holding all our prototypes together.

But more seriously, special thanks to Xavier Lebreton as the Fab Manager of the Telecom Valley X Polytech Nice Sophia FabLab, for his help, ideas and support throughout the project.
Conclusion
It’s been a blast building a robot even though it required blood and tears. I hope I’ll get a chance to work on physical products one day or another as it is very rewarding to see them in real life.
Nearly forgot the best part: tinkering using cool tools in cool labs!
Hugo continued to build the robot with Younes Bazi as part of their Robotic Engineering degree. They made some great improvements showcased in this video, notably thanks to reinforcement learning in simulations.